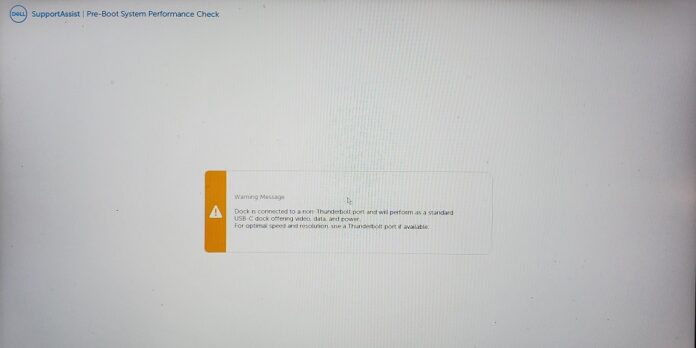
Does your Dell Docking Station give you the message “Your dock fan has failed”? Please read this guide some more to figure it out. “Your dock fan has failed.” is what the message says in full. You may notice a drop in efficiency until your dock is repaired. The hardware or software on your Dell docking station could be at fault for this error.
Therefore, if a hardware problem is causing it, you might need to replace your dock fan or the entire docking station, while a software problem can be quickly fixed by updating the firmware or resetting the device. You should try fixing this error yourself first before buying new hardware. All you have to do is do a few easy things. This guide will show you how to fix this problem on your Dell docking station that has to do with the fans.
How To Fix Your Dock Fan Has Failed Error On Dell Docking Station?
Ensure you first use the original Dell docking station power charger if you receive the “Your Dock Has Failed” message. Next, try resetting your Dell docking station. Try updating the dock firmware and the laptop’s BIOS if this doesn’t work. The mistake should be fixed now. If that’s not the case, your dock fan is broken. If this is the case, you should replace the fan or the docking station.
Use The Original Dell Power Adapter
Use the Dell power adapter that came with the docking station to avoid getting the “Your dock fan has failed” message. If you use a different adapter, switch back to the old one.
Tip: Instead of using the docking station to power the laptop, try using the AC power charger that came with it.
Reset The Dock
- Take off all the cords attached to your laptop or computer.
- Plugging out of the dock from the power outlet.
- For about one minute, press and hold the power button on your dock to drain the power that’s left.
- Connect the power cord to the dock.
- There should be three blinks on the power button.
- Now plug the cord back into your laptop or computer.
Update Dock’s Firmware
- You can find help at https://www.dell.com/support/home/en-us/.
- Pick “Browse all products.”
- After that, click “PC and Tablet Accessories” and “Electronics and Accessories.”
- You can see your Dock model if you scroll down. Click it to select it after you’ve located it.
- Click Drivers & Downloads on the new page.
- Pick out your operating system, then choose the Firmware Update Utility to download from the list.
- Run the command as an administrator as soon as the download is done.
- Hit the Enter key after entering “CD\” in the command line.
- Type the “delldockingstationfwUP_version /componentsvers” command and hit the enter key again. (In this case, if you downloaded version 1.5.2_IE-3213, the command should be “delldockingstationfwUP_1.5.2_IE-3213 /componentsvers” instead of “version”).
- After updating the firmware, reset the docking station as it says above.
Update Laptop’s BIOS
- Visit https://dell.com/support/drivers
- Select BIOS from the group when looking for your laptop.
- It’s easy to install the new version on your computer; download it and click the setup file.
- Complete the process by following the steps.
Final Words:
We hope this guide was useful. Let us know how this guide works for you! Thank you!

